
Blacksmith Master Early Shop Layout: Small Floor, Big Output
An efficient early-game Blacksmith Master shop layout: station placement, walking-distance math, and a floor plan you can copy for your first two rooms.
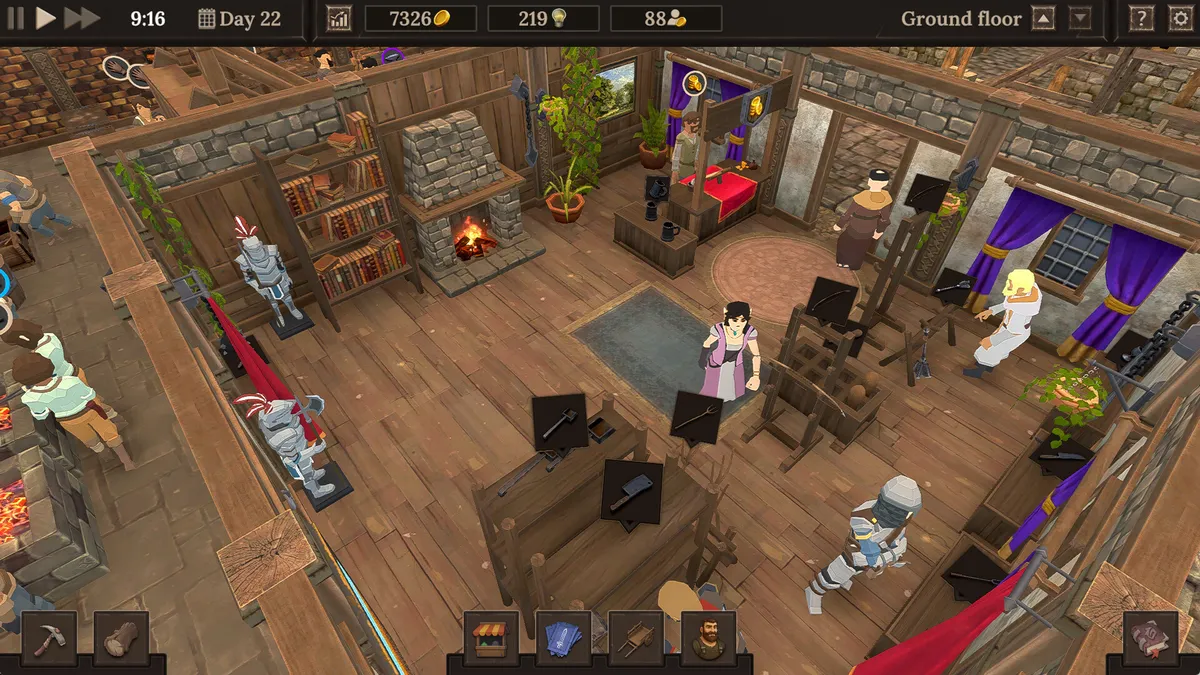
Does layout actually matter in Blacksmith Master?
Yes — and measurably. Workers walk in real time: assistants move at 2.2 m/s at level 0, blacksmiths carry items at walking pace, and a claimed anvil or furnace cannot be used by anyone else until the task is done. Every meter between the furnace and the anvil is paid for twice per crafted item, in wages, across hundreds of items a day. A bad early layout silently costs more than a bad hire.
The one-room rule
For your first room, the optimal plan compresses the crafting loop into the smallest possible circle:
- Furnaces on the back wall. Ingots are heated here first. Wall placement keeps the heat source out of traffic.
- Anvils one step in front of the furnaces. The most common transition in the game is heat-then-hammer; make it the shortest walk in the shop.
- Design table beside the anvils. Whoever is on design duty should never cross the room.
- Ore crate and wood storage beside the smelter/carpentry bench. Restock trips are the second-most-frequent walk.
- Racks, checkout counter, and item chest near the door once the store opens. Customers enter, see goods, and pay without crossing worker paths.
Walking-distance math
Consider a single ingot’s journey in a badly planned shop: storage (left wall) to furnace (right wall) to anvil (center) to item chest (back) to a merchant cart (front) — easily 30 meters. At 2.2 m/s that is roughly 14 seconds of pure walking per item, per worker. A compact plan cuts that to 10-12 meters, saving 5+ seconds per item. Across 200 items a day and three workers, a tight layout returns several worker-minutes daily — effectively a free extra worker.
Door discipline
Two layout rules that prevent most early jams:
- Nothing blocks the doorway. A single badly placed chest can stall both customers and assistants at the entrance; the 1.0 staff menu helps you see the pile-up after it happens, but prevention is better.
- One-way flow. Customers and goods should move in a loop — in the door, past racks, to checkout — not double back through the crafting zone. Even in one room, placing the checkout on the opposite side from the racks creates a natural loop.
When do I expand to a second floor?
When you can name the bottleneck, not before. If anvils are claimed constantly, you need more anvils, not more space. If workers are queuing for furnaces, add furnaces. The 2nd Floor mastery node (100 points) earns its keep only when the ground floor is genuinely saturated — see the endgame five-floor layouts for how to plan vertical expansion so each floor has one job.
Copyable starter plan
For the opening room: two furnaces and two anvils back-to-center, design table adjacent, storage along the side wall, and (when unlocked) the shop trio — racks, chest, checkout — forming a small triangle by the entrance. It scales to roughly four workers before you need walls out; the worker builds guide will tell you who those four should be, and the mastery order says when to buy the space for them.
Related Articles
guides
Blacksmith Master Money Guide: Early Game Gold, Day 1 to 30
How to make money fast in early-game Blacksmith Master: gold-per-day math for merchant orders, wage costs, and the unlock order that keeps you profitable.
guides
Blacksmith Master Endgame Layout: Five Floors, One Job Each
Endgame Blacksmith Master shop layouts: how to assign one job per floor across five floors, with basement placement, trade-route wings, and siege weapon space.
guides
Blacksmith Master Beginner Guide: Your First 7 Days, Day by Day
A day-by-day Blacksmith Master beginner guide for version 1.0: what to build, who to hire, which orders to take, and the mistakes that stall a new forge.
Was this helpful?
Thanks for the feedback!