
Blacksmith Master Endgame Layout: Five Floors, One Job Each
Endgame Blacksmith Master shop layouts: how to assign one job per floor across five floors, with basement placement, trade-route wings, and siege weapon space.
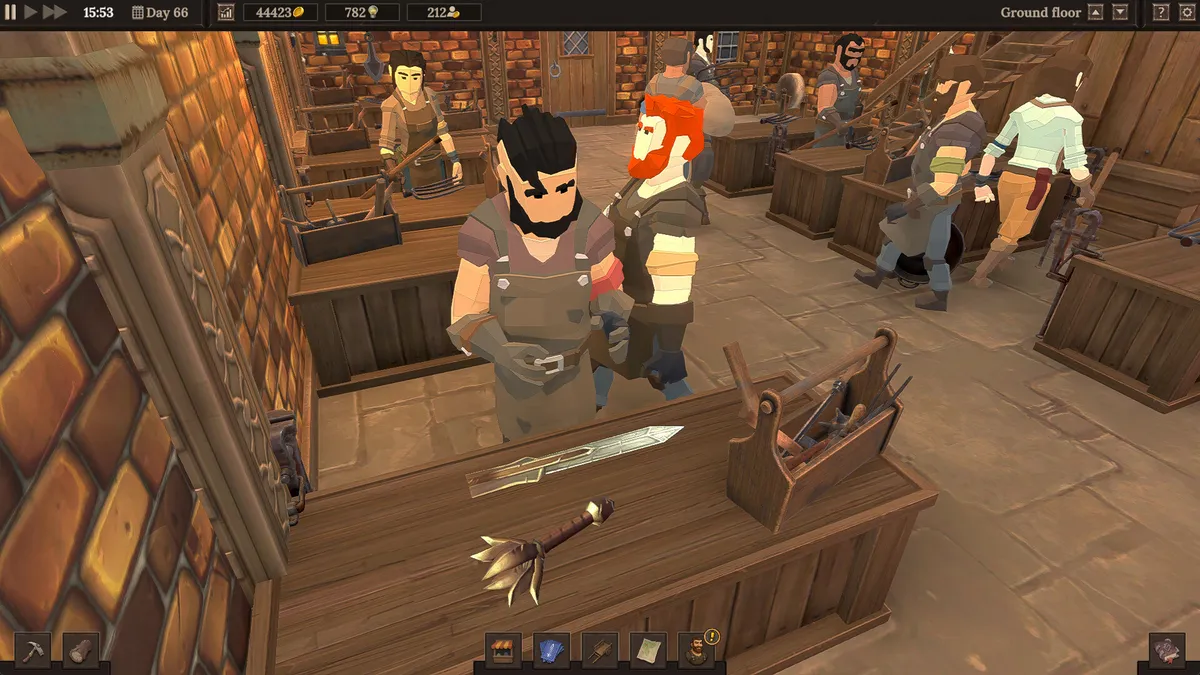
How should I organize a five-floor forge?
Once you own the 2nd Floor (100 points), 3rd floor, and basement nodes, the mistake to avoid is replicating your ground floor three more times. Floors multiply throughput only when each one has a single job; mixed floors recreate the same walking bottlenecks you escaped, one story up. Community endgame builds converge on functional zoning:
| Floor | Job | Key stations |
|---|---|---|
| Ground | Intake and storage | Ore crates, wood storage, smelter bank, warehouse access |
| Floor 2 | Metal crafting | Furnaces, anvils, sharpening wheels, design table |
| Floor 3 | Wood, pottery, assembly | Carpentry benches, painting tables, assembly space |
| Retail floor | The shop | Racks, item chest, checkout counters, decorations |
| Top/basement | Trade routes and siege work | Trade-route benches, large-part assembly, minting |
Why zoning beats duplication
The crafting chain has natural choke points — a claimed anvil blocks a blacksmith, a busy furnace queue delays everything downstream. When metal work lives on one floor, your three best metalworkers claim three anvils and never travel; assistants run a fixed elevator loop you can optimize once and forget. Siege weapon commissions, with their 100-plus-part assemblies, are almost impossible in a mixed shop and straightforward in a dedicated assembly floor — which is why the siege weapons guide assumes you have one.
Elevators and stairs are the real currency
Every vertical layout lives or dies on lift capacity. The community-tested pattern: stairs for workers, clear lanes for assistants, and never put a station within two tiles of a staircase entrance — that is where traffic jams form and where customers abandon their shopping. If blacksmiths wait to climb, your expensive upper floors run at half speed no matter how many anvils they hold.
The retail floor deserves daylight
Customer flow converts directly into gold, so the shop floor follows different rules from the production floors: racks at eye level as customers enter, the checkout at the far end (making them walk past every display — see the store setup math), decorations filling the 500-gold-per-display quota that maximizes footfall, and zero worker traffic crossing the shopping path. If customers and assistants share an aisle, both lose.
Basement versus top floor
The basement nodes add utility space that does not compete with retail visibility — ideal for trade-route benches and coin minting, which have no customers to attract. Put minting and trade routes below, keep selling above. One 1.0 master worker, the Master Cashier, makes retail almost self-running once hired, since customers at his register never lose patience.
Migration path
You do not build this in one renovation. Move in this order as floors unlock: (1) storage and smelting to the ground floor, (2) metal crafting consolidated upstairs, (3) retail isolated last — because a messy shop costs you daily sales, but a messy workshop only costs efficiency. For the early single-room version of this logic, see the early shop layout guide.
Related Articles
blueprints
Blacksmith Master Jewelry Blueprints: The Highest-Margin Catalog
Every Blacksmith Master jewelry blueprint: silver and gold bracelets, rings, and gem pieces, their material chains, and why jewelry wins the endgame profit race.
guides
Blacksmith Master Late Game Money Guide: From 10k to 1M Gold
Late-game Blacksmith Master gold strategies compared with real math: jewelry, siege commissions, and coin minting past one million gold.
guides
Blacksmith Master Early Shop Layout: Small Floor, Big Output
An efficient early-game Blacksmith Master shop layout: station placement, walking-distance math, and a floor plan you can copy for your first two rooms.
Was this helpful?
Thanks for the feedback!